

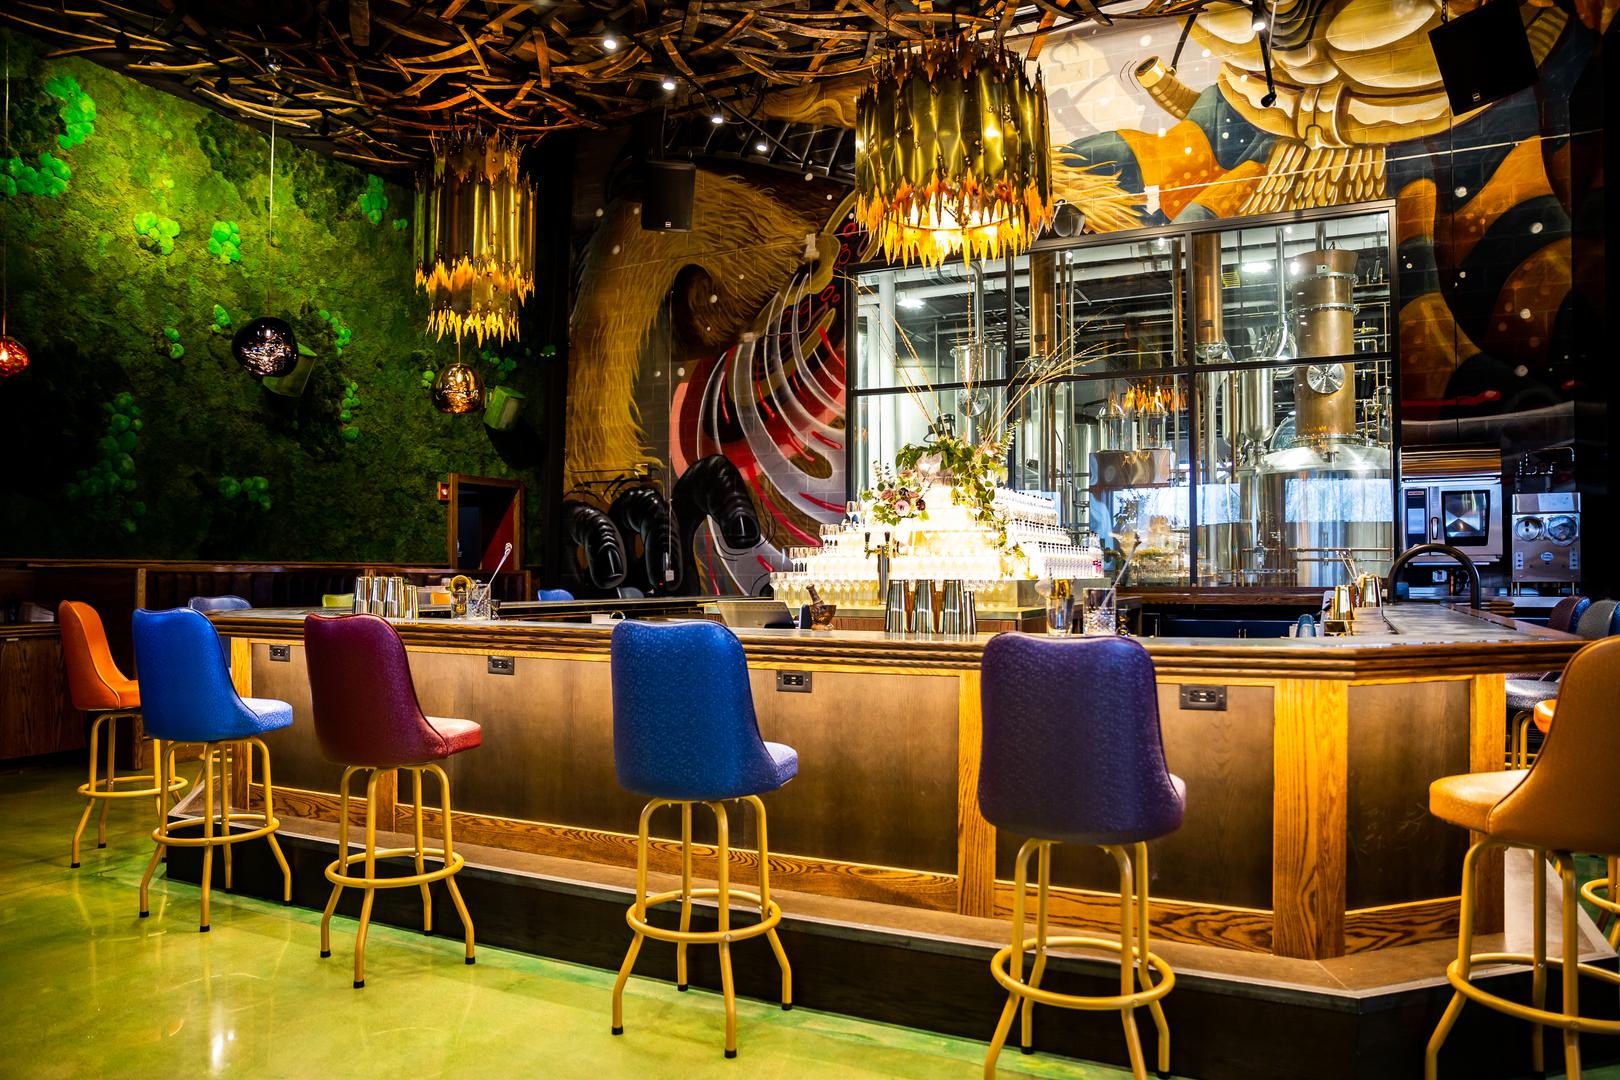
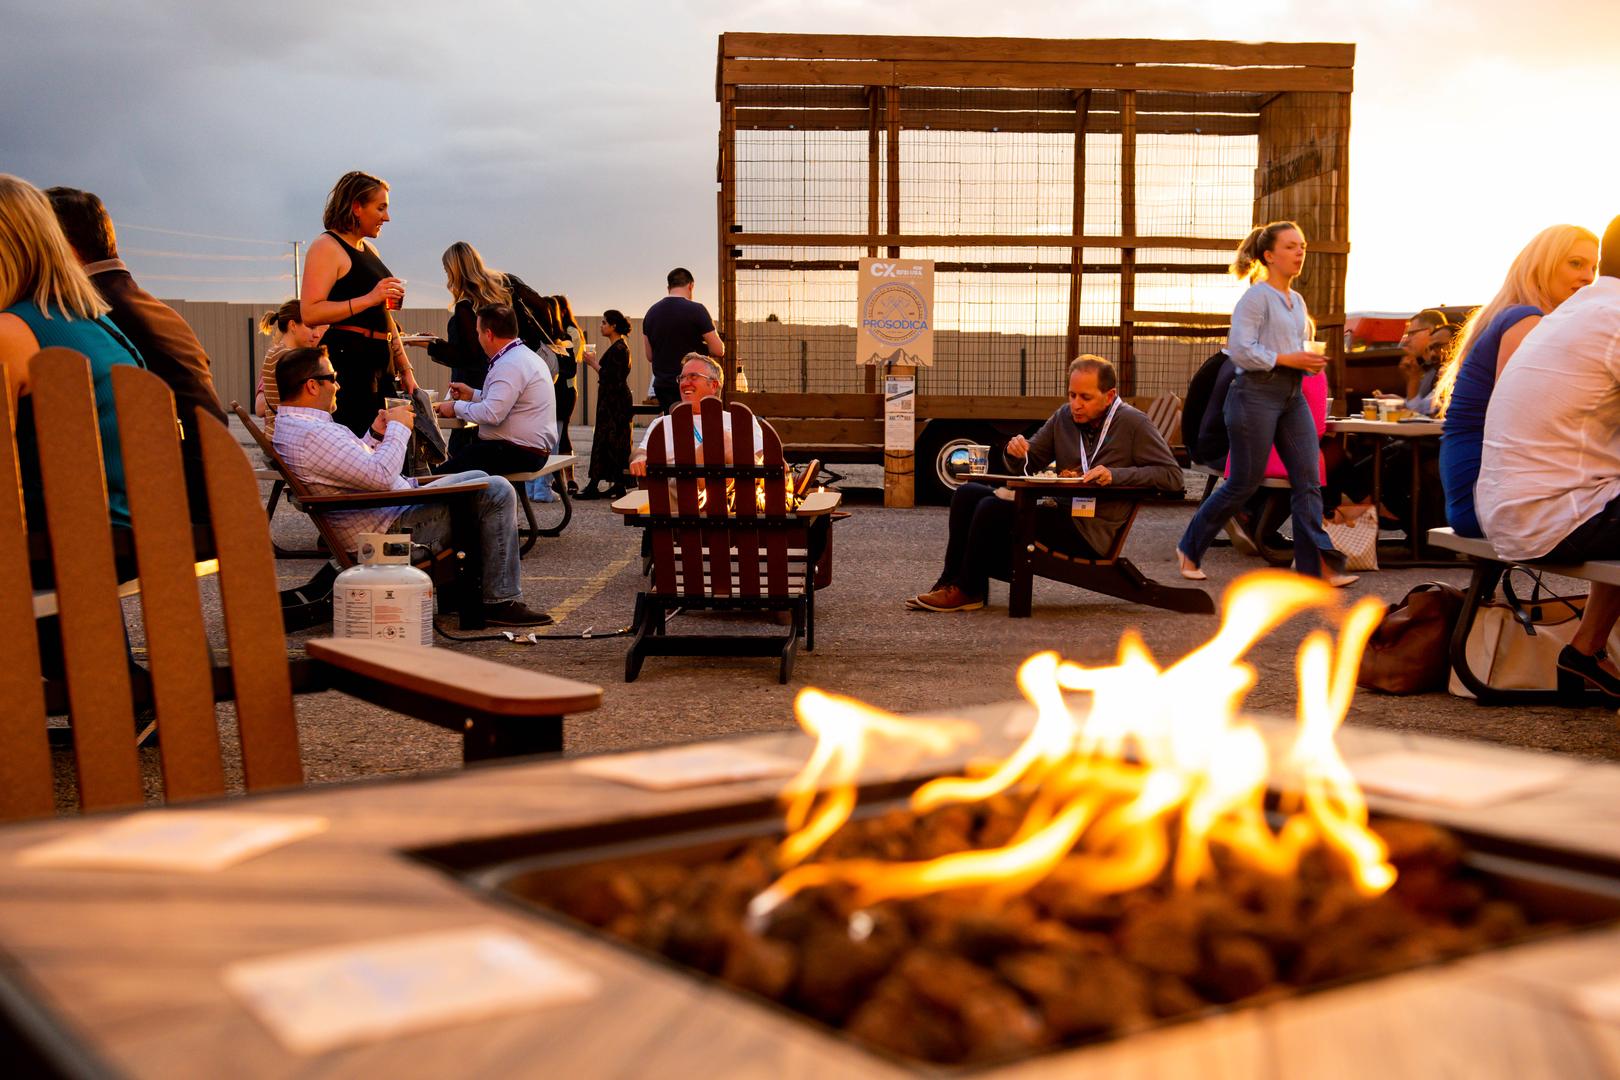
Nothing brings your event space to life quite like a virtual tour. Virtual tours are the perfect marketing tool to ensure your venue stays booked month after month. They're especially useful for people who have never seen your venue before, may be booking a venue in another city or state, or for those times when an event planner simply cannot get to a venue, like in the middle of a global pandemic. What is even better is that you don’t have to be a professional videographer or hire one for thousands of dollars to create your virtual tour either to make a big impact. Here are the steps you should take to create the best virtual tour of your event space.
Step One: Plan your virtual tour
Take a walk through each area of your venue and make notes of specific details you want to highlight, such as the dimensions of each room, any special equipment provided, etc. Analyze the best angle to shoot each room, find an area that maximizes the space and flows easily from one space to the next. Walk the outside area of the property as well and notice which spots highlight the curb appeal of your event venue.
Step Two: Film each room in a short video clip
Get a tripod to avoid shaky frames. Swivel the camera from one side of the room to the other, being careful to move the lens slowly and steadily. Make sure you are getting a full 360 degree view of each room in your venue.
Step Three: Photograph the outside of the property
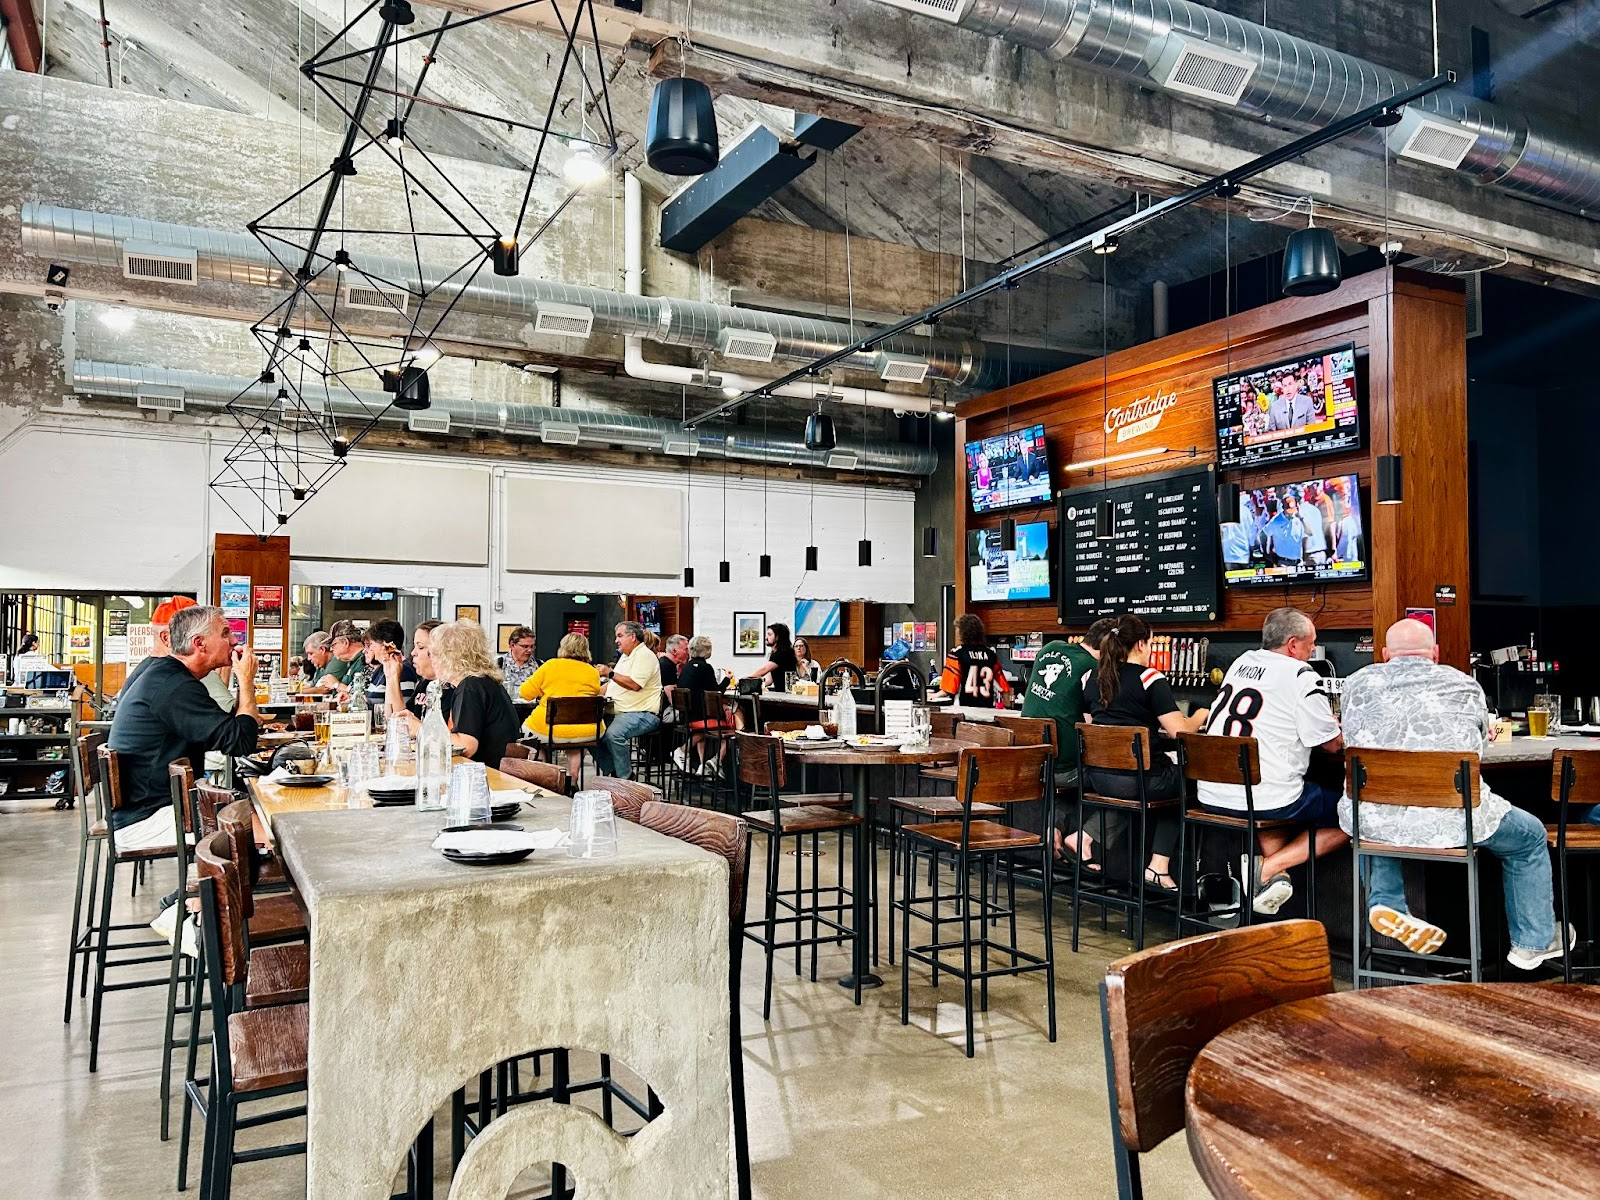
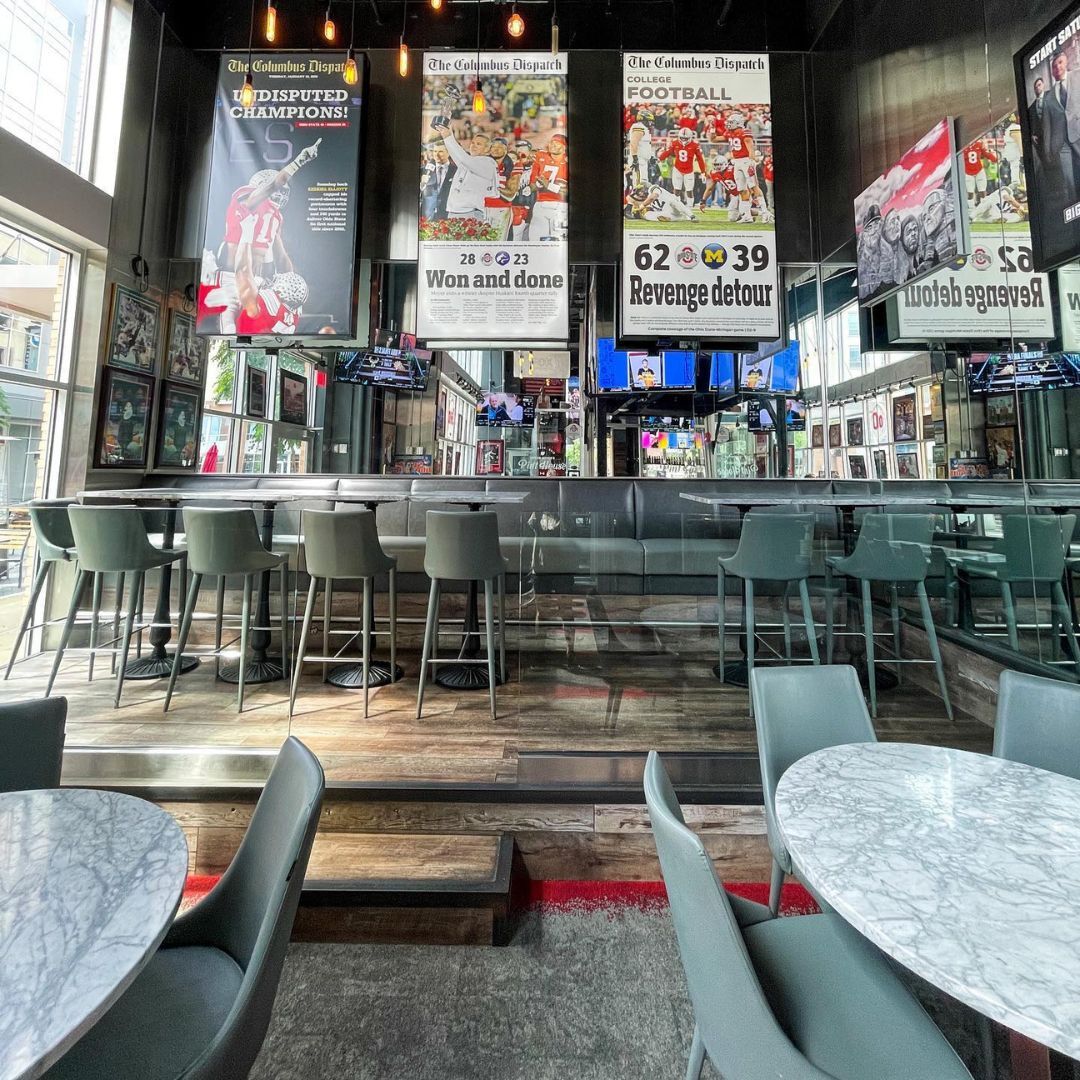
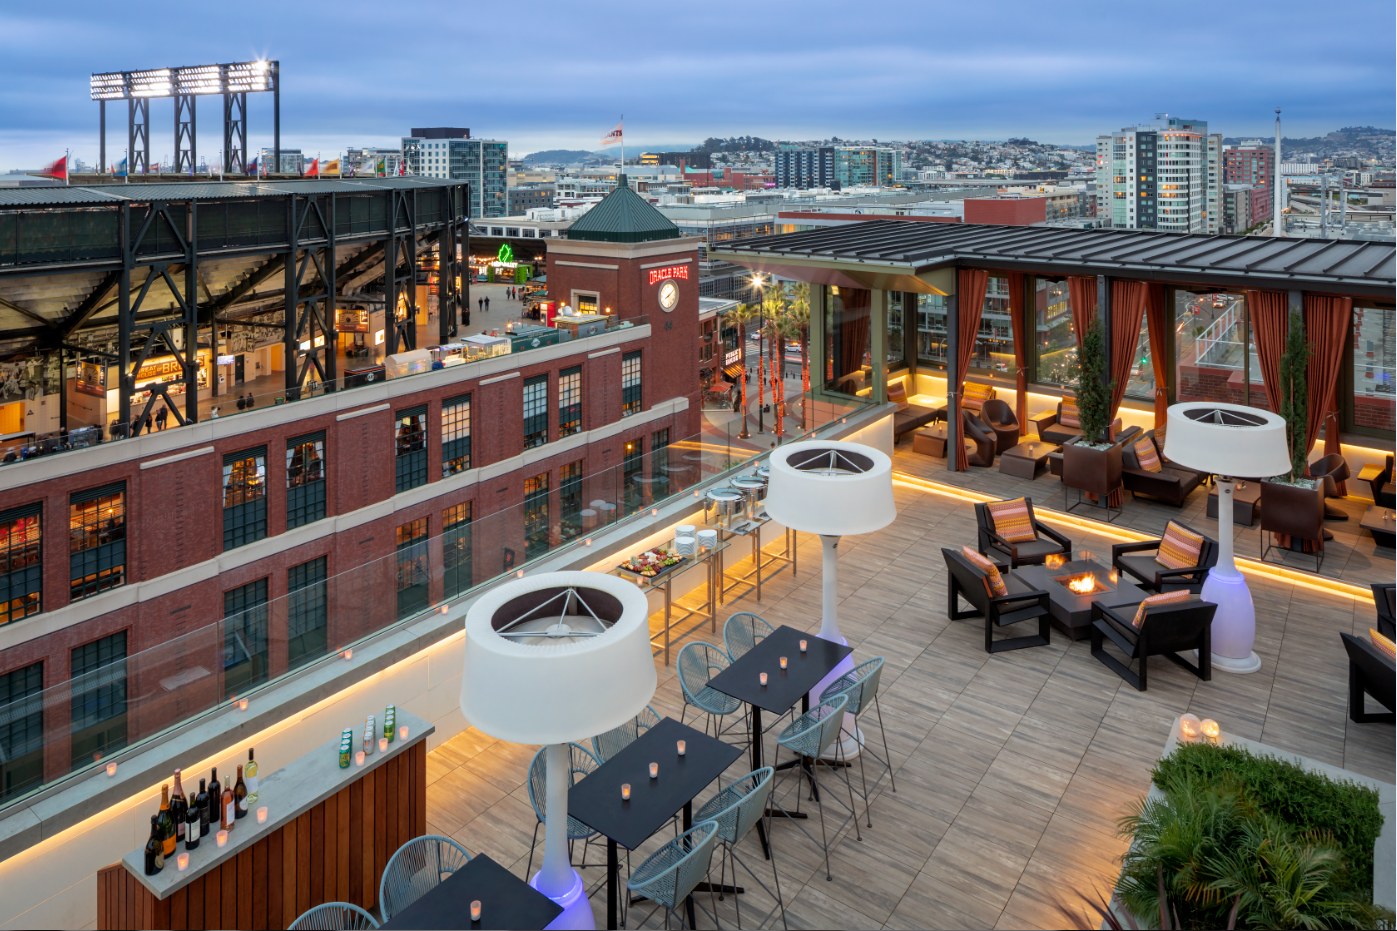
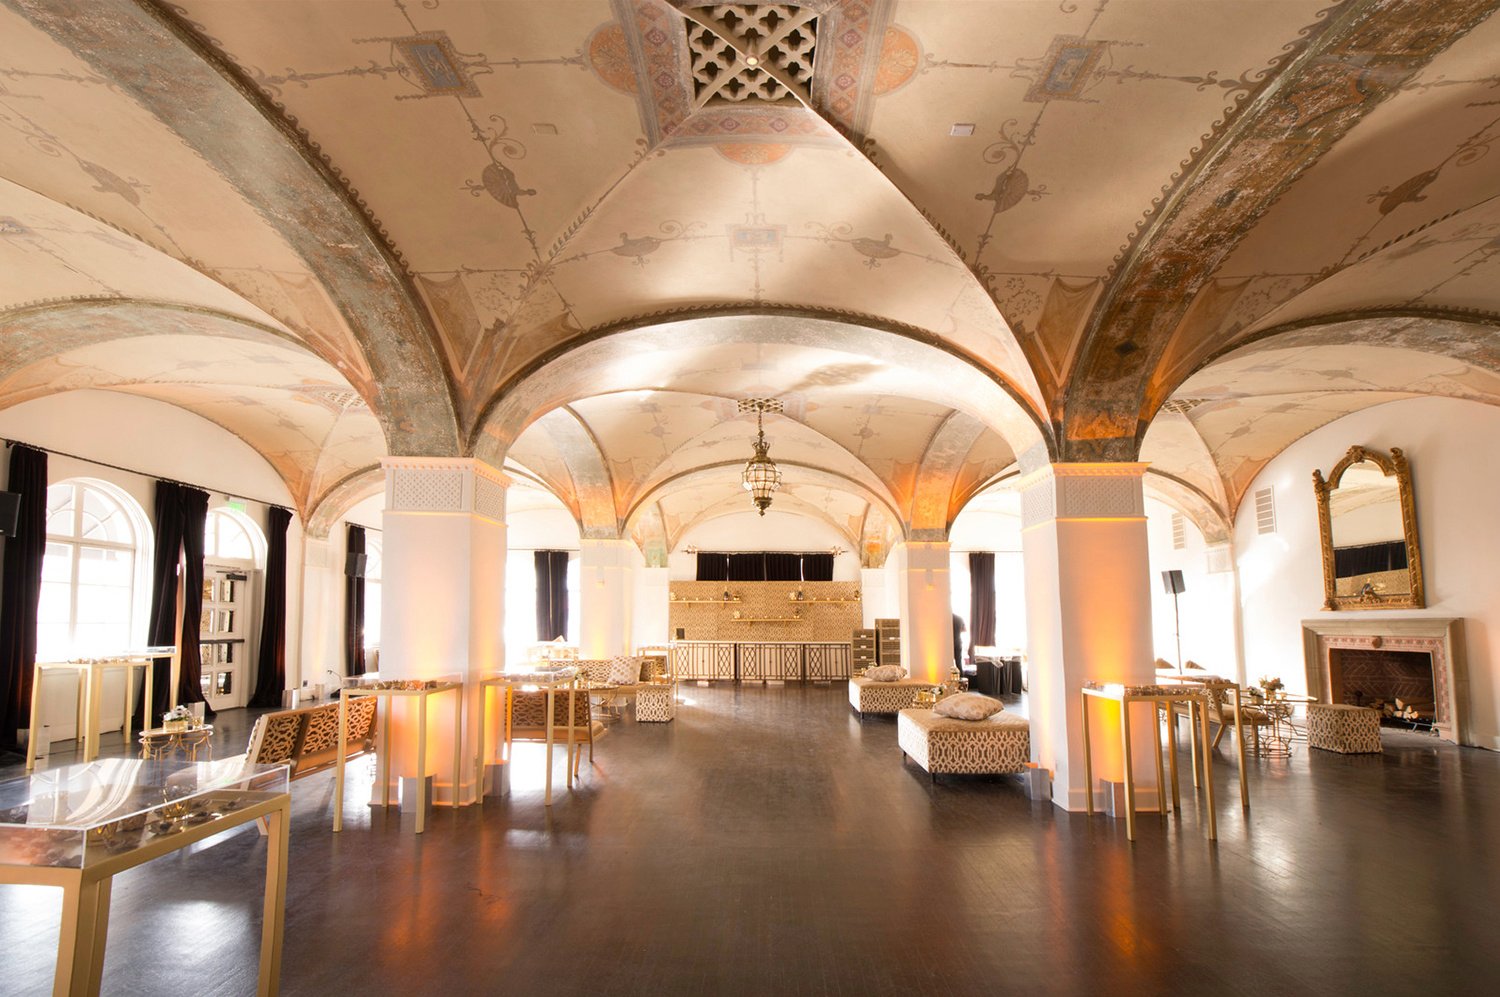
If your event space has an area for outside catering or parking you will definitely want to snap some photos of these to incorporate into your virtual tour. Do you have a rooftop bar, pool or hot tub, or some other unique feature? Take pictures for your potential customers!
Step Four: Upload video clips and images to your computer
Once you have all your videos and photographs, you need to upload them to your computer. Usually this is done by connecting your USB cable from the camera to the computer. Your computer should recognize the camera as a storage device, making it easy for you to upload everything. Create a new folder on your desktop and copy the files from your camera to this new folder.
Step Five: Launch your movie editing software.
If you are on a Windows system, launch the Movie Maker program. If you are on a Mac, launch your iMovie application. You do not need to purchase or download any additional movie software in order to create a virtual tour. Movie Maker and iMovie are included with nearly every Windows or Mac system. Canva, a free graphic design platform for non-designers, has video and video collage capabilities
Step Six: Import your video clips and images to the movie editing software
Navigate to the folder you created on your desktop. Select all and import into your movie editing software. Be patient as it can take some time to upload all your video clips.
Step Seven: Drag all your files to the “video” section of the software
To start, find the best still image to represent your venue as a whole. Drag the photo into the “video” section of the movie making software. Then, drag your video clips in the order that you want them, one by one, into the video section. As a tip, it’s usually best to end the video with the exterior pictures of your venue.
Step Eight: Save and Play
Save your project to your computer. Then play it from the beginning and make note of any changes or edits that need to be made. Also, if you want to add audio to the video, figure out what you want to say for each clip or frame.
Step Nine: Add narration if you want it
Describe all the unique attributes of your venue. Also mention the central location or any other useful facts about your event space to really bring your video to life. In order to add audio to your video, you must first connect a microphone to your computer if it doesn't have one already. For Windows users, click tools (within your movie editing software) and then click “narrate timeline.” For Macs, simply press the microphone icon. Your virtual tour will play while you are recording the voice over. Be sure you are speaking clearly and slowly into the microphone. When done, save the recording to the folder on your desktop. It should automatically be added to the Audio/Music section of your project. Alternatively, you could just add a song that goes with your tour if you do not want to speak through it.
Step Ten: Publish
Click “Publish,” name it and save it, and you’re done! For Mac users, click “Export.” Upload to your website and send to any partner websites so the webmaster can upload it on their end as well. Post it across your social media platforms, so event planners within your network can start to share with their networks and grow your potential customers audience.
Step Eleven: Add it to you EventUp and VENUES listings
Sharing your venue tours across you venue directory listings - lets thousands of event planners into your space virtually. Use these videos as a way to show off and brag about your space and all the wonderful, and unique events you can accommodate. Event planners are highly visuals folks who want to see your space before they submit a quote request. Providing a video tour along with your photos makes them feel as if they have visited your space in person and comfortable enough to submit that quote request and start their event planning journey with you.
Have you created a virtual tour before? What was it like? Share with us by leaving a comment below, on Facebook or Twitter.


%20Where%20to%20Eat%20Near%20Willis%20Tower%20in%20Chicago.png)