
The Best Photography Tips for Showcasing Your Event Venue Online
Event photos are often the first—and sometimes only—impression a prospective client will get of your venue before deciding to inquire or schedule a tour. Which, of course, means they deserve special consideration in your marketing strategy.
Strong visuals do more than make a website look good; they communicate capacity, ambiance, and versatility, while also answering the silent questions event planners have: How will guests enter? Where do people mingle? What does the room look like in daylight and at night?
With intentional photography, venue owners and operators can create a powerful visual library that drives interest and, ultimately, bookings.
Key Things to Consider Before You Start
Before a single photo is taken, align on a strategy. Decide who you are trying to attract (corporate events, weddings, nonprofit galas, social parties), what your space does best, and what objections your photos should overcome (e.g., parking, lighting, layout). With those goals in place, you can make better decisions about staging, composition, and technical setup that will save time on shoot day and lead to more effective images.
Staging & Perspective
Staging and perspective help communicate not only the look of your venue but also its adaptability and scale. Careful planning here sets the stage for capturing shots that resonate with your target audience.
Staging for Multiple Uses
Prepare the space to reflect several event types, such as a wedding ceremony, a corporate meeting, and a social gathering. It shows prospective clients that your venue can adapt to different needs and gives them a clear sense of the space’s versatility.
Varying Your Angles
Don’t rely on one perspective. Capture shots from different corners, heights, and focal points to present a more complete and engaging picture of the room. Such variety gives clients a stronger sense of being able to “walk through” the space.
Showing the True Scale
Wide shots should communicate size without distortion. Include furniture or props arranged realistically to help clients imagine guest flow and capacity, provide a practical reference point, and avoid misleading representations.
Lighting & Composition
Lighting and composition are key to making sure your images highlight the atmosphere of your venue while maintaining accuracy. Using light and thoughtful framing can transform ordinary rooms into inviting, professional-looking spaces.
Prioritizing Natural Light
Whenever possible, schedule shoots during times of day when your venue receives the best natural light. Natural light highlights textures, colors, and details in a way artificial lighting often cannot, making spaces feel more authentic and welcoming.
Following the Rule of Thirds
Apply the rule of thirds to compose balanced images. Position focal points—like an altar, stage, or head table—at the intersections of the grid lines to create more dynamic, visually appealing compositions.
Capturing Quiet Moments
Balance busy, staged shots with serene, quiet moments. For example, a sunbeam falling across empty chairs or a neatly set table can evoke emotion and help clients picture the atmosphere before the event begins.

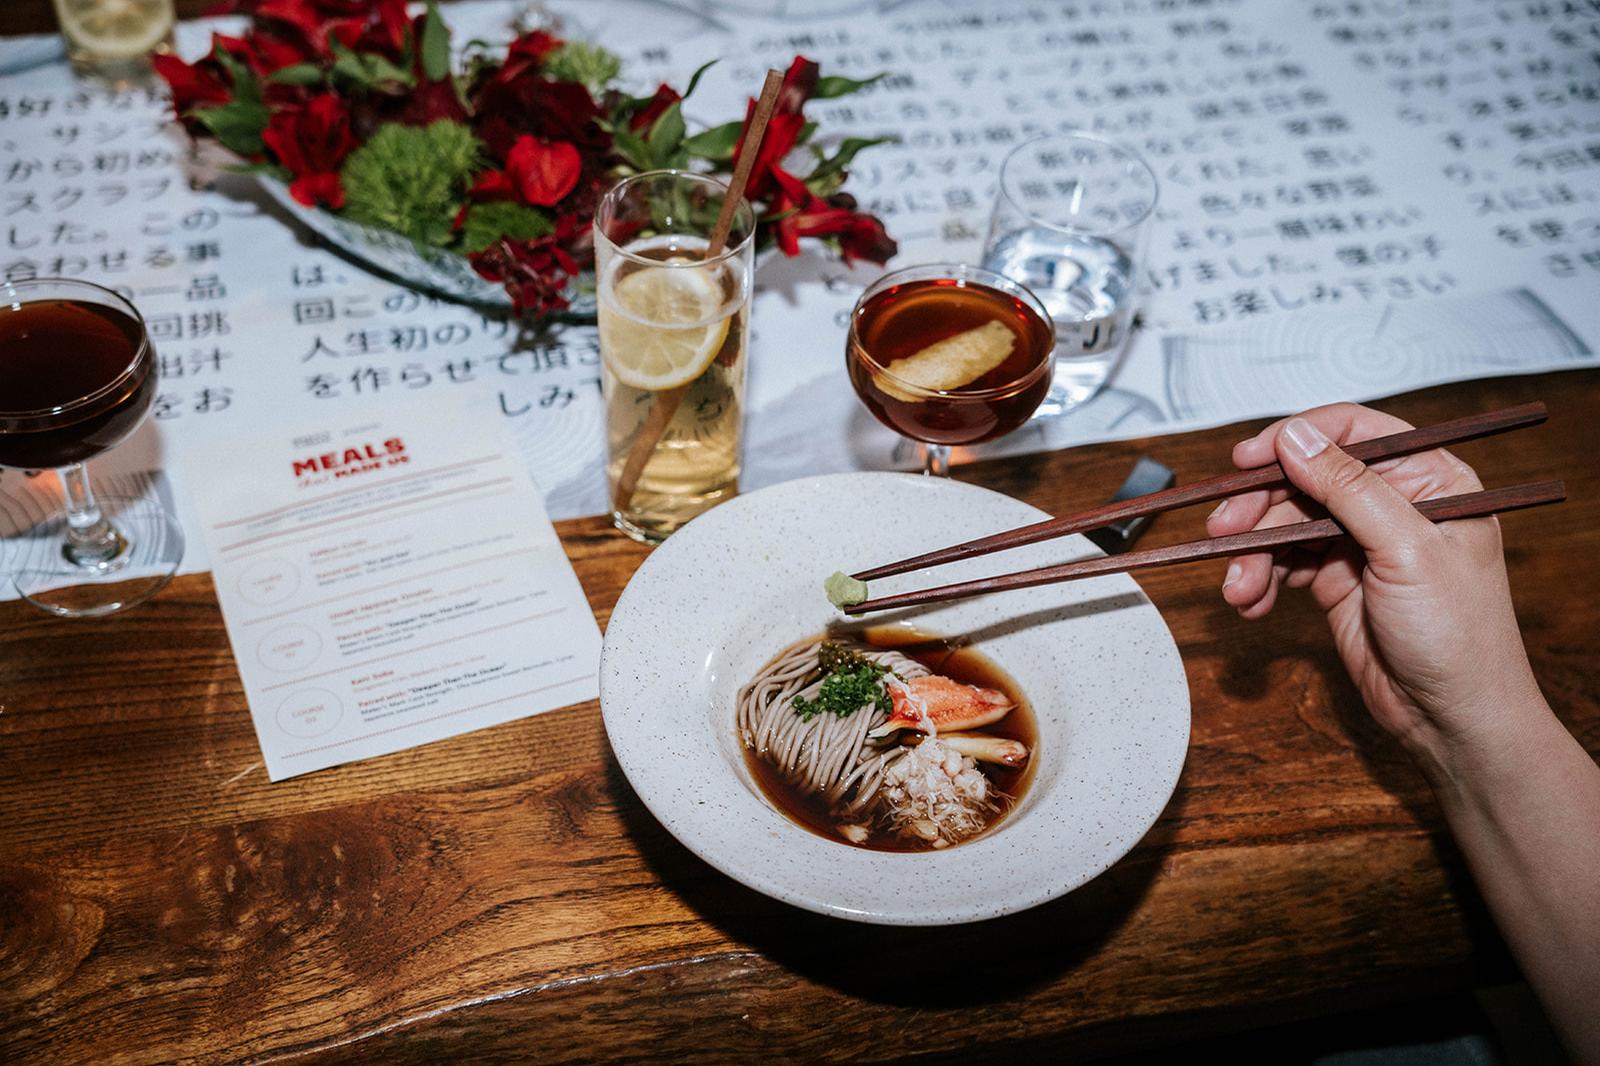
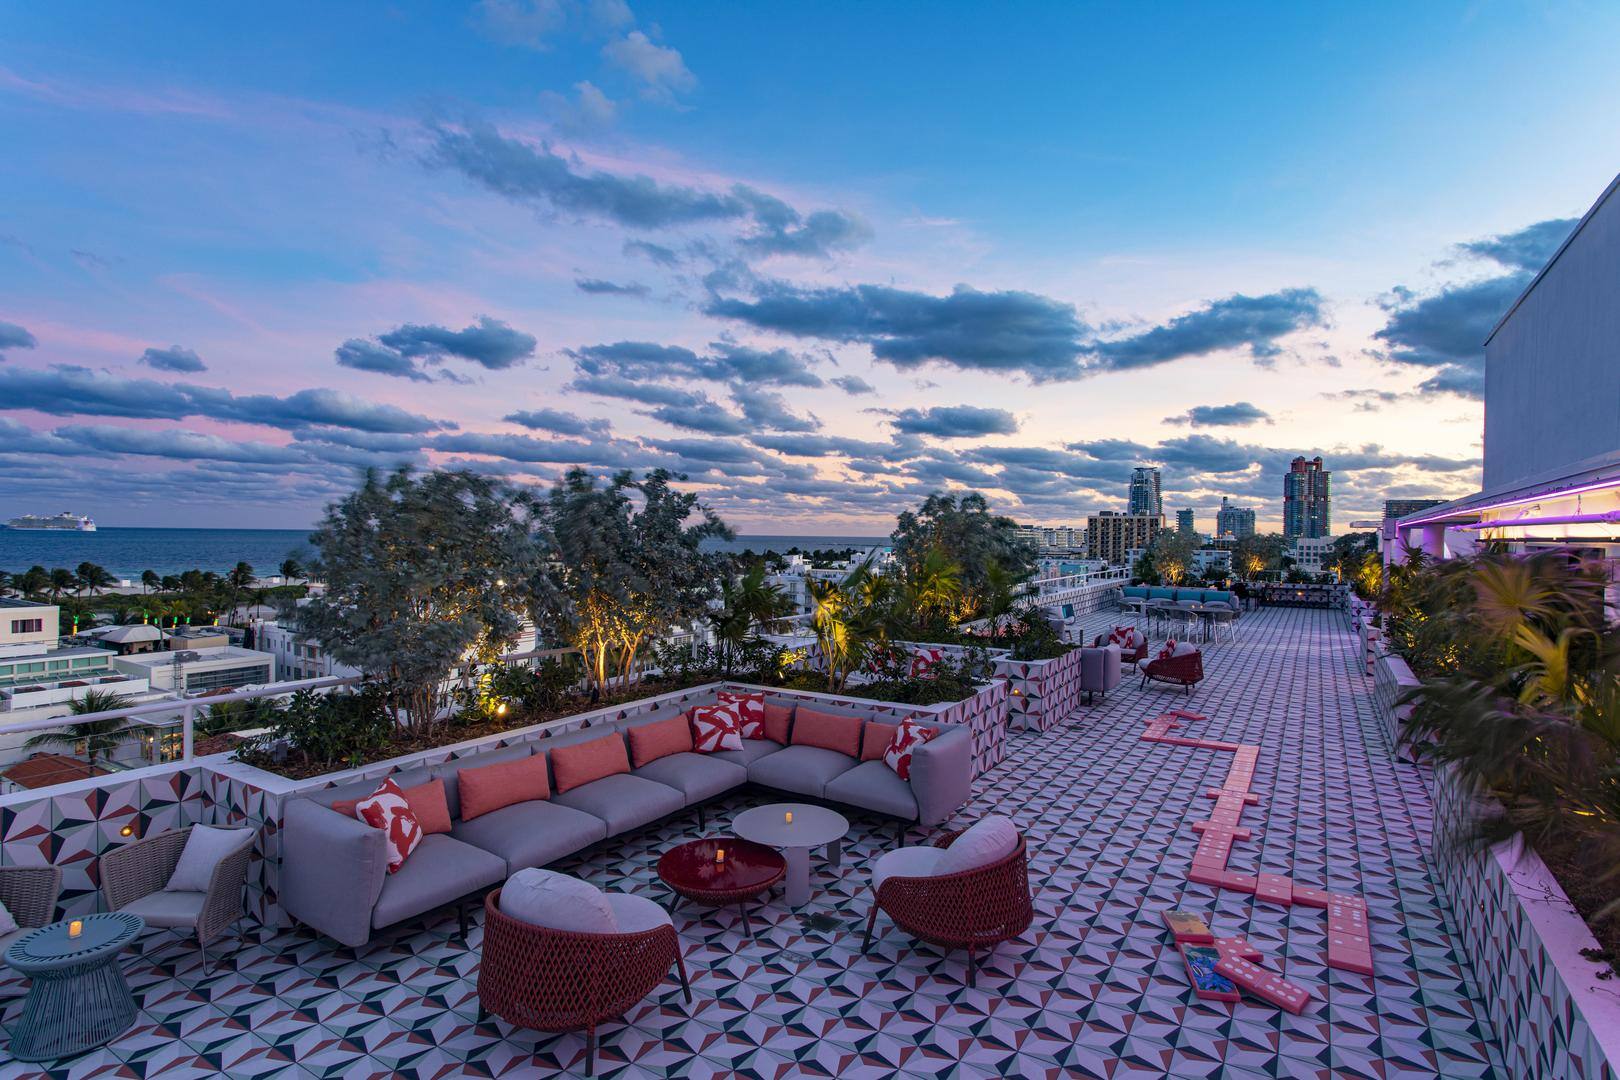
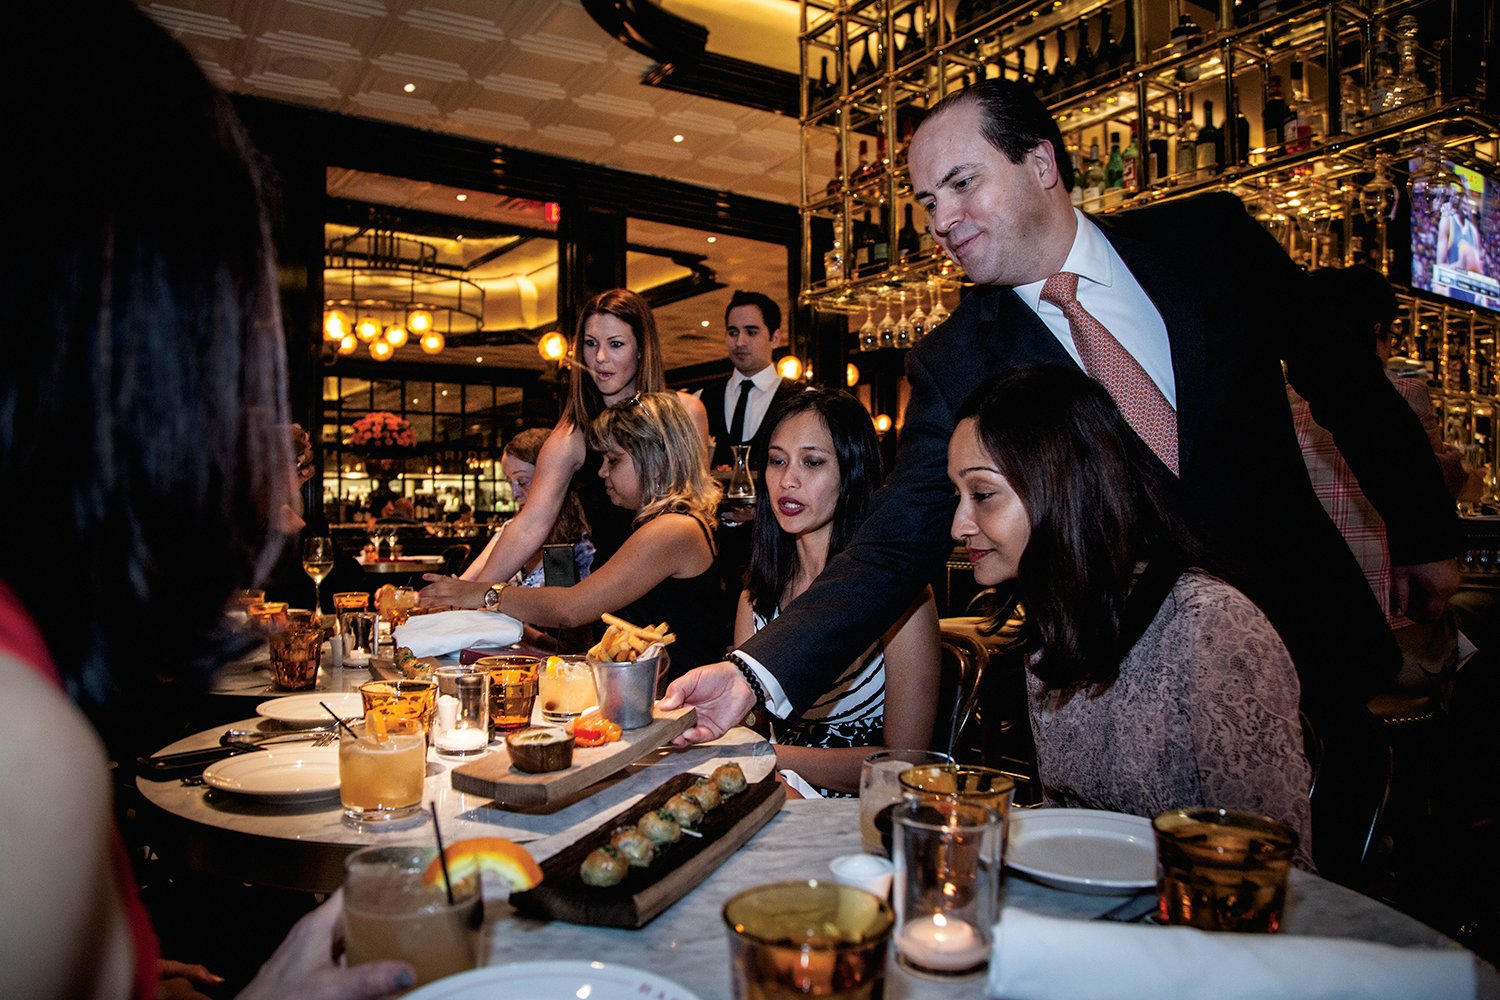
Momofuku Toronto, Toronto, Ontario, Canada
Technical Considerations
Technical preparation helps guarantee your photos are sharp, professional, and flexible for editing. Paying attention to gear and file types can save time and make your photos more marketable.
Using the Right Lenses
Invest in a wide-angle lens for full-room coverage and a detail lens for close-up shots of décor, textures, and finishes. Each lens serves a purpose, and using the right one avoids distortion while capturing both the big picture and finer details.
Considering Different Staging Options
Bring variety by capturing the same space staged in different configurations. For example, a banquet hall might also be photographed as a classroom-style setup. This process helps potential clients imagine hosting different types of events in the same space.
Shooting in RAW
Always shoot in RAW format to preserve maximum data in your images. RAW files provide greater flexibility during editing, which allows you to adjust exposure, white balance, and colors without sacrificing quality.
How to Photograph Your Event Space
A smooth photoshoot is the result of thoughtful preparation, an efficient on-site workflow, and disciplined postproduction. Consider approaching the project in three phases: what you do before the camera comes out, how you work during the session, and how you process images after. Treat each phase as a checklist so you leave with complete coverage and polished files that are easy to market.
Before the Photoshoot
Preparation is where you control the controllables: cleanliness, layout, timing, and a practical plan for capturing everything you need. The more specific your plan, the more creative freedom you’ll have on set.
1. Thoroughly Clean & Declutter
Make the space guest-ready, not just tidy. Remove unnecessary signage, cables, storage bins, folding carts, and anything that won’t be present at an actual event. Polish mirrors, glass, and chrome; dust vents and baseboards; and check floors for scuffs.
Less visual noise means the eye lands on the features you want to sell—light, volume, finishes—and it speeds up editing later.
2. Stage the Space for Multiple Event Setups
Show versatility by preparing layouts that reflect your highest-demand use cases. For example, set a ceremony arrangement, a banquet configuration, and a classroom or theater layout if you target corporate groups.
Additionally, swap linens, chairs, and tableware to vary the mood across setups. Give every layout a focal point (arch, head table, screen) and clear aisles that communicate comfortable flow and accessibility.
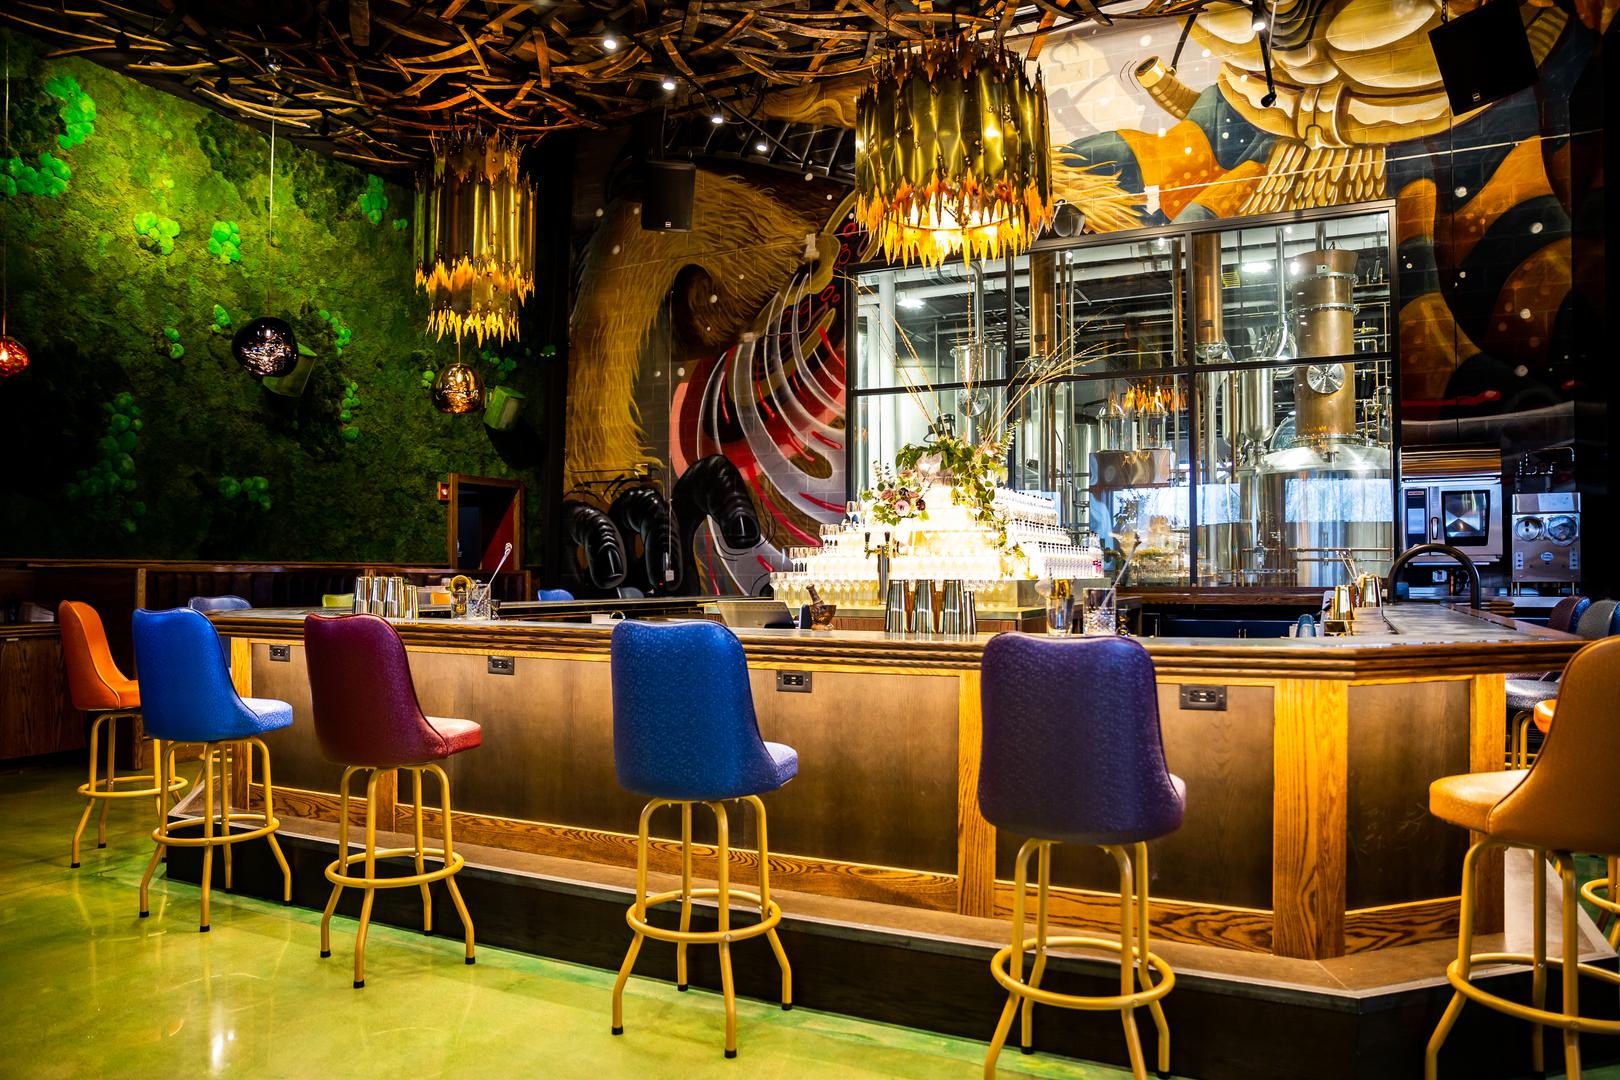
3. Highlight Best Features
Identify the architectural and experiential elements you’re known for—soaring windows, exposed brick, statement chandeliers, a skyline terrace, convenient adjacent parking—and stage to emphasize them. Arrange furniture to frame these assets rather than block them, and place accent décor or florals to guide attention. If there’s a view, plan shots that capture it from multiple positions inside the room.
4. Time the Shoot for Optimal Lighting
Map your light. Visit the venue at different times to see how sunlight moves through the space and when it looks most flattering. Golden morning or late-afternoon windows can add warmth and depth; overcast days reduce harsh shadows. If you’re covering interiors and exteriors, plan for a “daylight block” and a brief return at dusk for twilight exteriors and evening ambience.
5. Create a Shot List to Stay Organized
Write a detailed checklist covering each setup, room, and angle you need, plus a list of must-have details (bar, restrooms, bridal suite/green room, coat check, loading access). Include specific instructions like “wide from northwest corner” or “eye-level from entry looking to stage.”
This list not only keeps the team aligned but also helps capture consistent images for use across web pages, ads, and listing platforms.
During the Photoshoot
On shoot day, work methodically. Capture the widest, most important angles first while the space is pristine, then layer in perspective changes, detail shots, and lifestyle frames that add energy and realism.
1. Use a Wide-Angle Lens Carefully
Wide lenses are essential for communicating scale, but they can mislead when overused. Keep the camera level to maintain straight verticals and step back rather than dialing to the extreme end of your zoom whenever possible. If corners stretch unnaturally, move the tripod or switch to a slightly longer focal length and stitch a simple panorama later if needed.
2. Capture from Different Heights & Perspectives
Eye-level feels natural, but not every shot should be from the same height. Try a slightly elevated view to reveal tabletops and layout, and a lower angle to emphasize ceiling treatments or dramatic lighting. Move to corners to show depth, then shoot perpendicular to walls to provide orientation.
A variety of perspectives helps online viewers build a mental map of the room.
3. Mix Wide Shots with Detail Shots
Balance full-room images with tight compositions of features prospects care about: built-in audio-visual (AV) tech, acoustic panels, power access, bar finishes, restrooms, bridal suites, and any ADA-friendly elements. Capture place settings, floral textures, and signage that reflect the venue’s brand. These images sell craft and care—attributes that often tip a client from interested to committed.
4. Utilize a Tripod for Stability & Consistency
A tripod locks in framing for multiple exposures (helpful for bracketed shots) and promotes a cohesive look across a gallery. It also allows you to use lower ISO and slower shutter speeds for clean, noise-free files without introducing handshake blur. Mark the floor with subtle tape to return to hero positions after restaging.
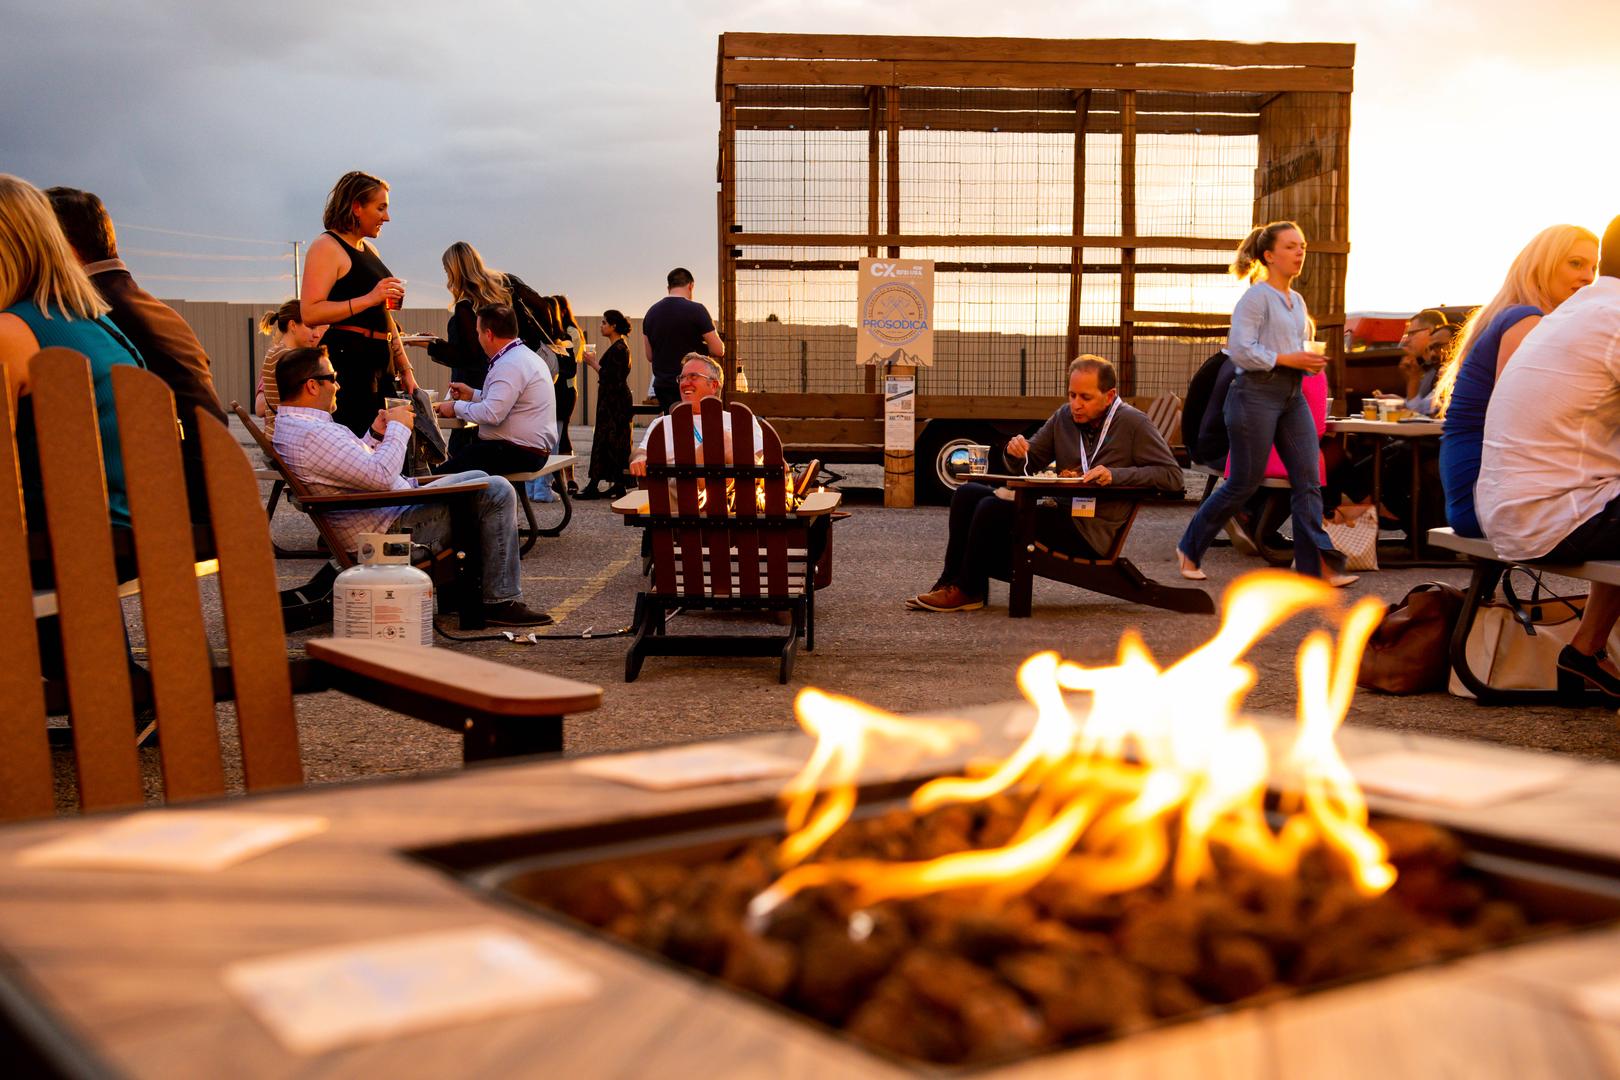
5. Incorporate People or Props to Create Dynamic, Relatable Images
Strategically include staff, models, or friends to add scale and life—pouring a drink, placing a charger plate, or chatting near a high-top. Keep poses natural and attire consistent with your target clientele. Alternatively, use implied presence, like folded napkins, a jacket on a chair, or an open door, to suggest activity while keeping the focus on the space.
6. Use Natural Light & Supplement When Needed
Start with available light to maintain an authentic look, then add soft fill when necessary. Bounce flash off a ceiling or wall to lift shadows without creating hotspots, or use continuous LED panels dialed to match ambient color temperature. Avoid mixing too many light sources of different colors; it complicates editing and can make surfaces look mismatched.
After the Photoshoot
Editing is where you bring consistency and polish, so your full gallery feels cohesive across pages, ads, and listings. Aim for clean, true-to-life images that build trust.
1. Edit for Consistency in Color & Exposure
Choose a baseline white balance for each room and apply it across the set, then fine-tune individual frames. Normalize exposure so hero shots from different angles feel like they belong together. Create presets for each space to accelerate future updates and maintain brand continuity.
2. Straighten Vertical Lines & Crop for Balance
Correct lens distortion and perspective so verticals are truly vertical. Nothing erodes credibility faster than leaning walls and drooping door frames.
Crop to remove edge distractions and to align horizons on the same plane across a series. When in doubt, favor realism over drama; clients need to trust what they see.
3. Adjust Brightness & Contrast with a Light Touch
The goal is a timeless edit that will still look good next season, so add contrast and clarity sparingly so textures feel tangible without looking crunchy. For example, lift shadows just enough to reveal detail while protecting highlight areas like windows or white linens.
4. Highlight Window Views & Outdoor Access
If exterior views or patios are selling points, blend a slightly darker interior exposure with a brighter window exposure to preserve both interior warmth and the outdoor scene. This process can be done with simple exposure bracketing or by using the RAW file’s dynamic range. Make sure exterior color temperature matches interior edits so the transition feels natural.
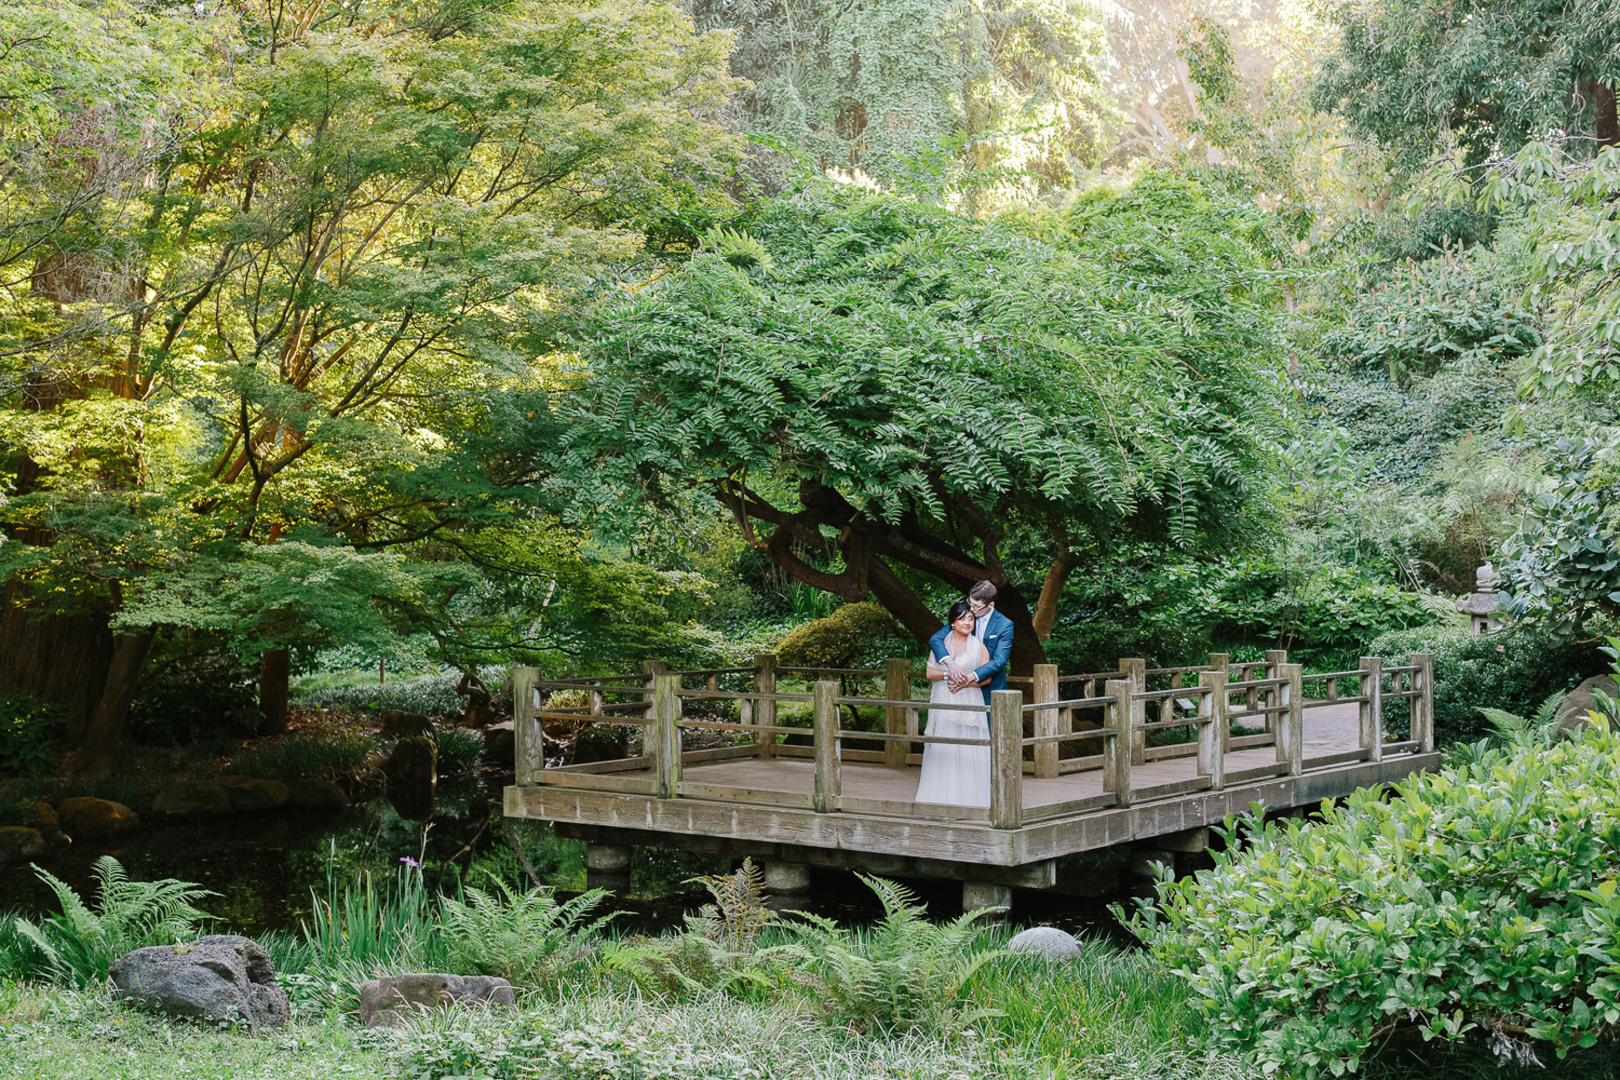
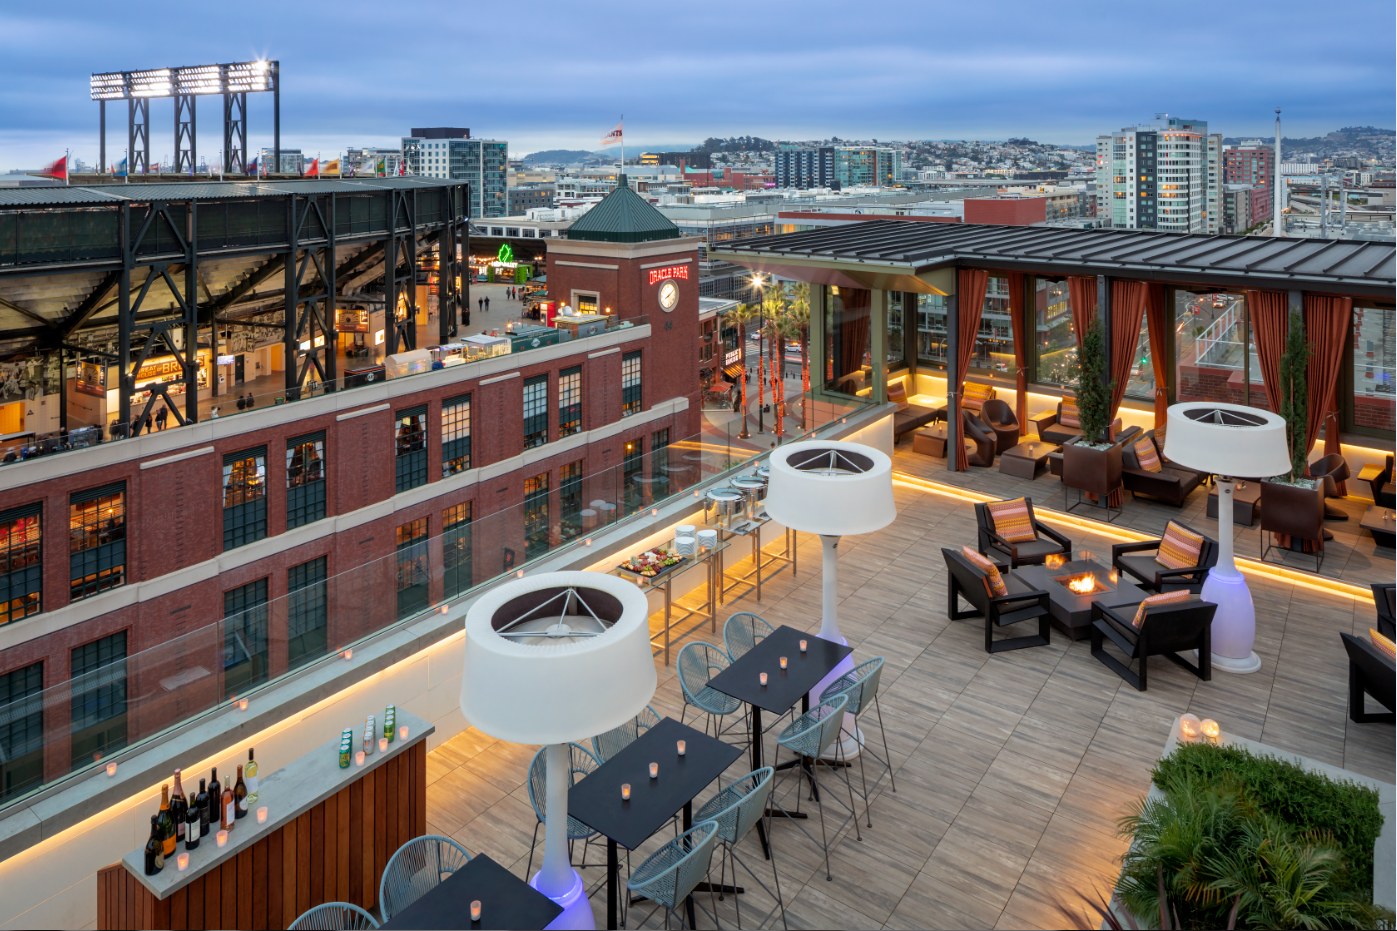
 The Tall Ship, Boston, Massachusetts
8 Photography Tips for Event Venues
Beyond process and planning, certain tactics consistently pay off for venues. Use these ideas as prompts when you’re building your shot list and staging scenes.
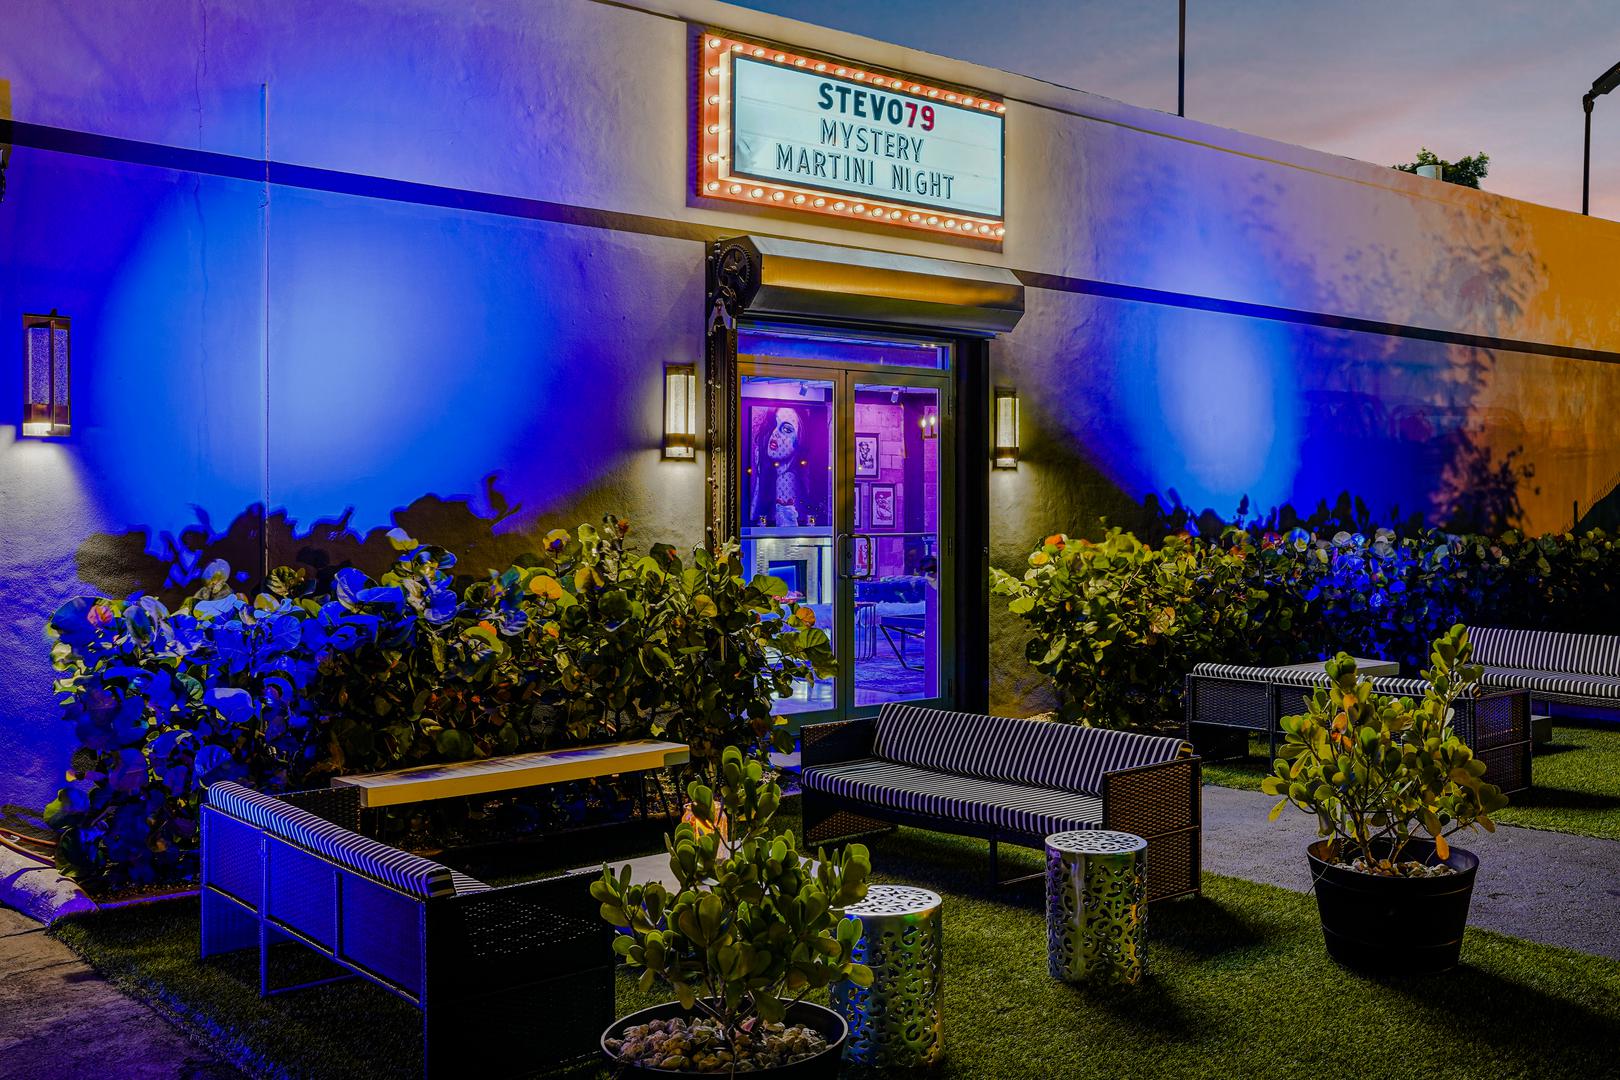
1. Highlight Entryways
Photograph the front door, marquee, valet area, and lobby with clear sightlines and welcoming light. Include signage or branding so guests can visualize arrival and wayfinding.
And remember that panners care about load-in and guest flow as much as aesthetics. For private entrances or freight-friendly access, add a clean, well-lit image.
2. Show Flow Between Spaces
Capture how guests move from arrival to cocktail hour to the main room and then to outdoor areas or lounges. Shoot connecting hallways and doorways from both directions to clarify orientation. These sequences help planners understand capacity expansion options and contingency plans for weather or program changes.
3. Capture Vertical & Horizontal Versions of Key Shots
Create both orientations for hero angles so you can use them across formats: horizontal for website banners and listing headers, and vertical for social posts, email modules, and paid placements. Recompose rather than simply cropping; a dedicated vertical frame will often reveal details a crop would cut off.
4. Include Seasonal or Thematic Details
If your venue shines in spring bloom or during the holidays, plan seasonal shoots that reflect those moments. Even a few images featuring fall foliage, summer patio furniture, or winter lighting can dramatically improve the relevance of your gallery throughout the year.
However, make sure seasonal décor aligns with your brand and doesn’t date the rest of your library.
5. Add Human Scale Where It Helps
A handful of images with people—staff lighting candles, a couple walking the aisle, attendees networking—helps viewers judge proportion and atmosphere. Keep motion subtle so attention remains on architecture and layout. Secure releases when faces are recognizable, or frame so subjects are turned away or softly blurred by depth of field.
6. Don’t Forget Night & Twilight Shots
Evening imagery sells ambiance for galas, receptions, and corporate dinners. Return at blue hour to capture warm interior light against a rich sky, then take a few true night shots that show exterior lighting, path illumination, and safety. Inside, dim to a realistic event level and expose to preserve the mood while keeping details readable.
7. Focus on Unique Touches
Every venue has differentiators, such as historic millwork, a statement staircase, locally made tile, a chef’s table, or an art wall. Photograph these features as mini-stories with an establishing shot, a medium frame, and a detail. Use these sets on webpages and in sales decks to anchor your brand identity.
8. Keep Branding in Mind
Your images should reflect the experience you promise. If your brand is modern and minimal, keep styling clean with restrained palettes and simple lines. If it’s classic or rustic, embrace warm tones, textured linens, and layered décor.
Consistency across your gallery builds recognition and makes your marketing materials feel intentional.
Strategies for Marketing Success with Event Venue Photography
Beautiful photos only help if they’re easy to find, easy to use, and trustworthy. Build simple systems so your team can plug images into every channel—website, social, ads, and venue marketplaces—without reinventing the wheel each time.
Make Sure Your Photos Are Honest
Set expectations accurately. Avoid extreme lensing, digital stretching, or edits that change color in a way guests won’t experience on site. Honest photos reduce disappointment on walk-throughs and increase close rates because prospects feel they can trust what they’re seeing.
Showcase Versatility Across Your Gallery
Group images by use case—wedding ceremony, cocktail hour, corporate theater, gala dinner—so planners quickly find what’s relevant. Include at least one example of each major layout at different capacities if possible. Versatility suggests value and improves your chances of being shortlisted for varied programs.
Focus on Details That Influence Decisions
Don’t bury practical images. Prominently feature AV capabilities, staging areas, bar setups, parking, restrooms, green rooms, and outdoor heating or shade. Many venues have comparable ballrooms; the operational details often win the booking.
Communicate Clearly with Your Photographer
Share your target audience, brand guidelines, image use cases, and list of must-have shots before the session. Provide floor plans and a walking route to speed up coverage. On set, designate one point of contact who can approve staging changes and keep the schedule moving.
Refresh Your Photo Library Regularly
Plan seasonal mini-shoots and a more comprehensive refresh annually or whenever you renovate, change furnishings, or update brand colors. Archive outdated images to avoid confusion, and maintain a simple folder structure with clear file names (e.g., “ballroom-wedding-ceremony-wide-01.jpg”) so staff can quickly locate assets for proposals and posts.
Turn Photos into Bookings with EventUp
Thoughtful, accurate photography makes your space easier to understand and easier to love. By planning your shoot, varying perspectives, editing with restraint, and curating a gallery that highlights both beauty and practical details, you build trust before a prospect ever steps through the door. That trust translates into more inquiries, more tours, and better-fit clients.
Once you have a strong photo library, put those assets to work where planners are actively searching. List your venue on EventUp to reach event organizers who value clear visuals and easy comparison. Your gallery becomes your best salesperson: It showcases capacity and flow, differentiates your brand, and makes your venue an obvious choice.
Ready to turn your images into revenue? Publish your listing and start capturing more bookings through EventUp today.


%20Where%20to%20Eat%20Near%20Willis%20Tower%20in%20Chicago.png)